Peanut Butter Balls Recipe
Introduction
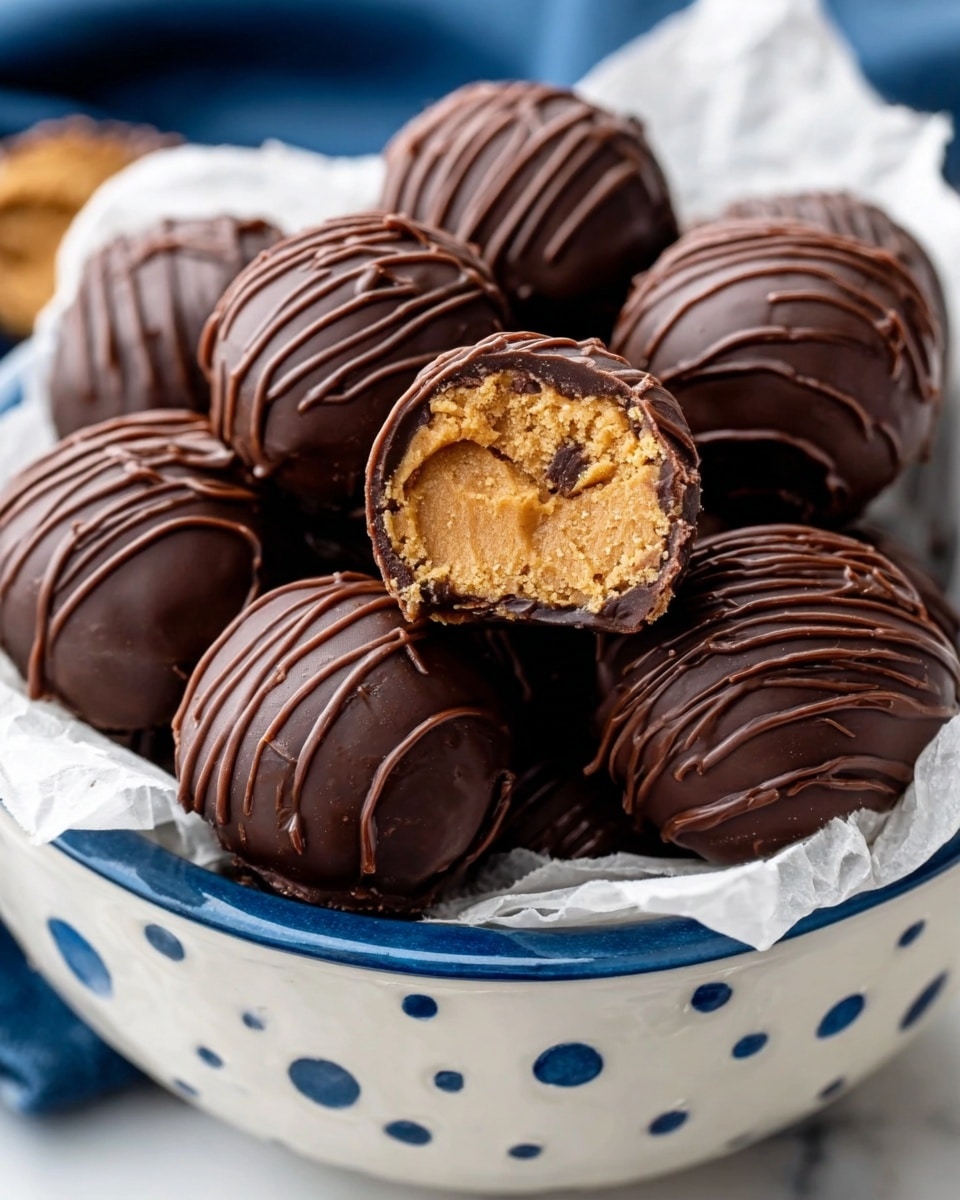
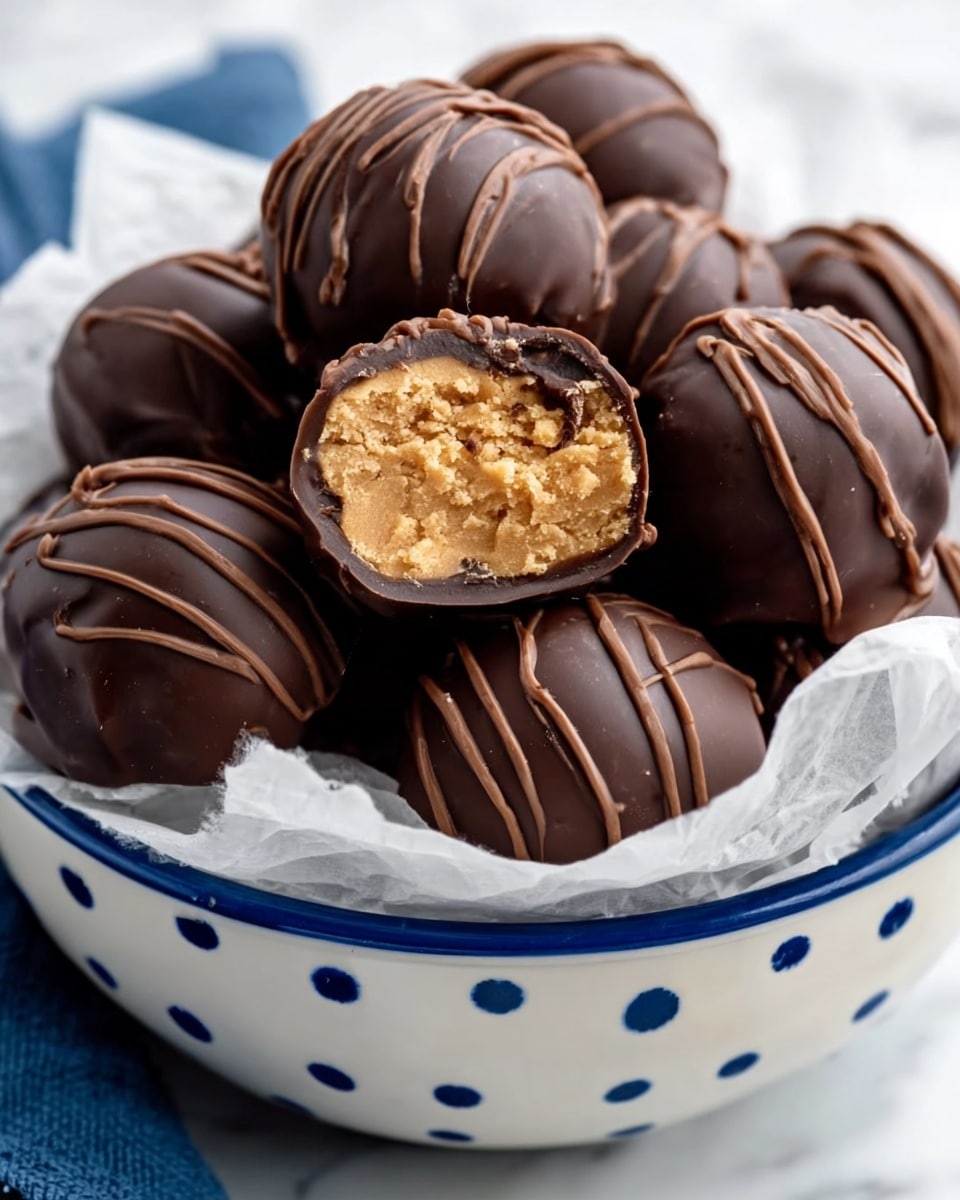
Peanut Butter Balls are a delightful no-bake treat that combines creamy peanut butter with rich chocolate. Perfect for holidays or anytime you need a sweet, satisfying snack. These bite-sized confections are easy to make and sure to please any crowd.
Ingredients
- 1 cup creamy peanut butter
- 6 tablespoons unsalted butter, room temperature
- 2 cups powdered sugar
- ½ teaspoon vanilla extract
- 2 teaspoons vegetable shortening (such as Crisco)
- 16 oz. chocolate chips
Instructions
- Step 1: In a large mixing bowl, use an electric mixer to combine the peanut butter and butter until smooth and creamy. Add the powdered sugar and vanilla extract, then stir until fully incorporated and the mixture is creamy.
- Step 2: Refrigerate the mixture for at least 10 minutes to firm up, making it easier to roll into balls.
- Step 3: Place a cookie sheet on the counter. Roll the peanut butter mixture into spoonful-sized balls using the palms of your hands. You should get about 20 balls. Arrange them on the cookie sheet and freeze for 30 minutes.
- Step 4: While the balls chill, melt the chocolate chips and vegetable shortening together in a microwave-safe bowl. Heat in 30-second increments, stirring between each until smooth.
- Step 5: Remove the peanut butter balls from the freezer. Using a toothpick, dip each ball into the melted chocolate, coating it completely. Tap off any excess chocolate and place on a baking sheet lined with wax or parchment paper.
- Step 6: Once all balls are coated, place them in the freezer to harden for about 30 minutes, or refrigerate for several hours until the chocolate is set.
Tips & Variations
- You can substitute coconut oil for vegetable shortening to melt with the chocolate for a different texture and flavor.
Storage
Store peanut butter balls in an airtight container in the refrigerator for up to two weeks. For longer storage, keep them frozen and thaw in the refrigerator before serving. Reheat is not necessary as they are best enjoyed chilled or at room temperature.
How to Serve
Serve this delicious recipe with your favorite sides.
FAQs
Can I use crunchy peanut butter instead of creamy?
Yes, crunchy peanut butter can be used, but it will give the balls a more textured bite. Creamy peanut butter produces a smoother filling.
What if I don’t have vegetable shortening?
You can replace vegetable shortening with coconut oil or additional butter to help thin the melted chocolate for easier coating.
PrintPeanut Butter Balls Recipe

Delicious no-bake peanut butter balls coated in smooth chocolate, perfect for holiday treats or any sweet craving. These easy-to-make bite-sized candies combine creamy peanut butter and powdered sugar, chilled until firm, then dipped in melted chocolate for a rich finish.
- Prep Time: 15 minutes
- Cook Time: 0 minutes
- Total Time: 1 hour 15 minutes including chilling and freezing
- Yield: Approximately 20 peanut butter balls 1x
- Category: Desserts
- Method: No-Cook
- Cuisine: American
Ingredients
Peanut Butter Ball Mixture
- 1 cup creamy peanut butter
- 6 tablespoons unsalted butter, room temperature
- 2 cups powdered sugar
- ½ teaspoon vanilla extract
Chocolate Coating
- 16 oz. chocolate chips
- 2 teaspoons vegetable shortening (or substitute coconut oil)
Instructions
- Mix Peanut Butter and Butter: In a large mixing bowl, use an electric mixer to combine the creamy peanut butter and softened unsalted butter until smooth and well blended.
- Add Powdered Sugar and Vanilla: Stir in the powdered sugar and vanilla extract until the mixture becomes creamy and fully incorporated.
- Chill Dough: Refrigerate the mixture for at least 10 minutes to allow it to firm up enough for rolling.
- Form Balls: Place a cookie sheet on the counter. Roll spoonful-sized portions of the chilled dough into balls using the palms of your hands, aiming for about 20 balls. Place them on the cookie sheet.
- Freeze Balls: Transfer the cookie sheet with the peanut butter balls to the freezer and chill for 30 minutes until firm.
- Melt Chocolate: Just before removing peanut butter balls from the freezer, place chocolate chips and vegetable shortening in a microwave-safe bowl. Microwave in 30-second increments, stirring between each until completely melted and smooth.
- Dip Balls in Chocolate: Remove the peanut butter balls from the freezer. Using a toothpick, dip each ball into the melted chocolate to coat all sides. Gently tap the toothpick on the side of the bowl to remove excess chocolate and achieve a smooth finish. Place coated balls on a baking sheet lined with wax or parchment paper.
- Set Chocolate: Once all balls are coated, place the tray in the freezer for about 30 minutes or refrigerate for several hours until the chocolate is fully set and firm.
Notes
- You can substitute coconut oil for vegetable shortening in the chocolate coating.
- Use a toothpick or candy tool to dip and handle the peanut butter balls easily.
- Store peanut butter balls in the refrigerator or freezer to keep the chocolate coating firm.
- Yield is approximately 20 peanut butter balls per batch.
Keywords: peanut butter balls, no bake candy, chocolate coated peanut butter balls, holiday treats, easy desserts