Homemade Easy Cheesy Pizza Pockets Recipe
Introduction
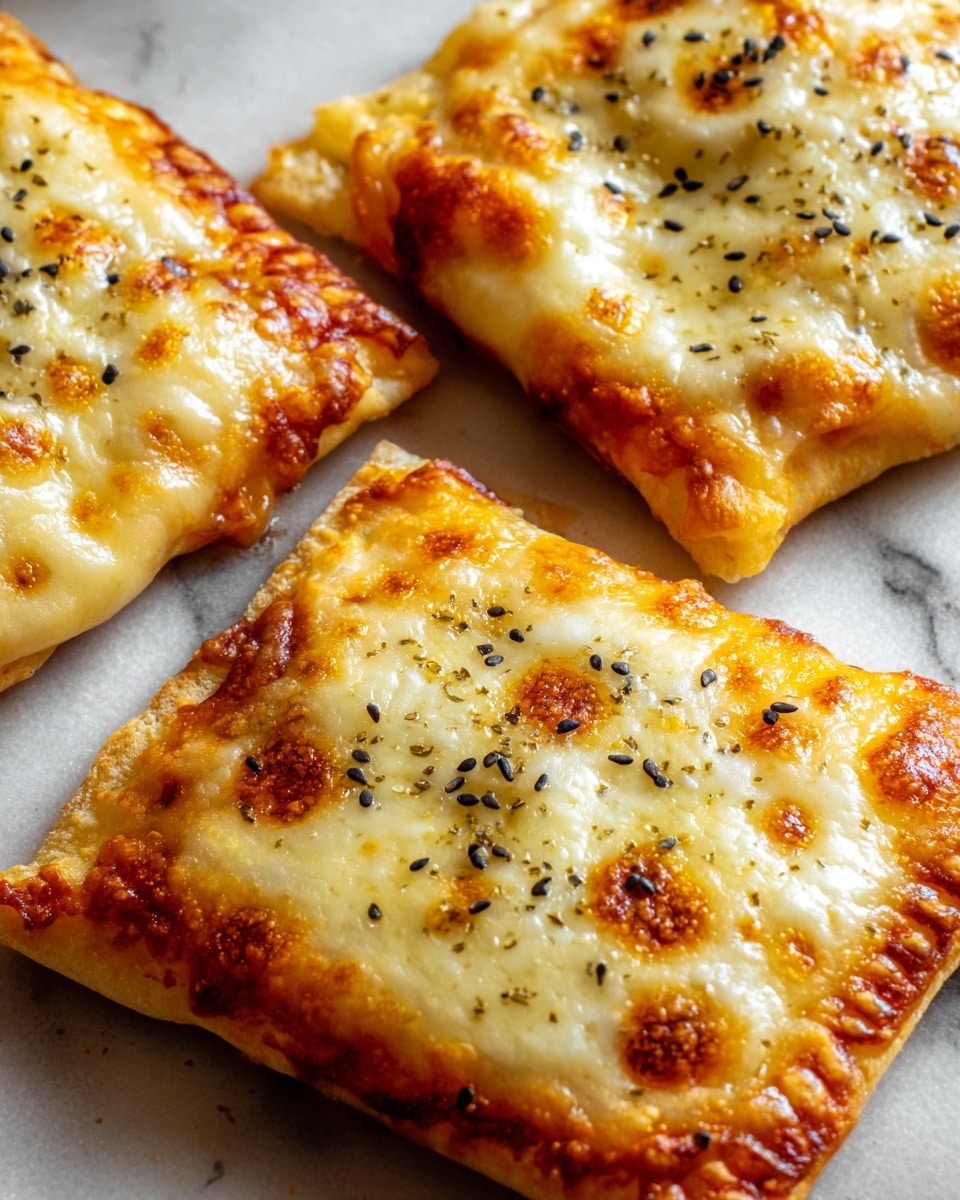
Homemade Easy Cheesy Pizza Pockets are the ultimate comfort food, combining a flaky golden crust with gooey melted mozzarella and your favorite toppings. Perfect for game nights, quick snacks, or family dinners, these pockets are both simple to make and endlessly customizable.
Ingredients
- 1 lb pizza dough (store-bought or homemade)
- 2 cups shredded mozzarella cheese
- 1 cup assorted toppings (e.g., pepperoni, bell peppers, mushrooms)
- 2 tbsp olive oil
- 1 tsp Italian seasoning
Instructions
- Step 1: Preheat your oven to 400°F (200°C) and line a baking sheet with parchment paper.
- Step 2: Roll out the pizza dough on a floured surface to about 1/8 inch thick and cut into 4×4 inch squares.
- Step 3: Place a generous amount of shredded mozzarella cheese and your chosen toppings on one half of each dough square.
- Step 4: Fold the other half of the dough square over the filling and press the edges firmly with a fork to seal the pocket.
- Step 5: Brush each pocket lightly with olive oil and sprinkle Italian seasoning on top.
- Step 6: Bake the pockets on the prepared baking sheet for 15–20 minutes until golden brown and the cheese is melted.
Tips & Variations
- Roll the dough thinly to ensure even baking and a crisp crust.
- Seal edges tightly to prevent filling from leaking during baking.
- Experiment with different cheeses like cheddar or provolone for varied flavor.
- Add spices such as garlic powder or oregano to the filling for extra taste.
- Use a variety of toppings like olives, mushrooms, or cooked sausage to customize your pockets.
Storage
Store leftover pizza pockets in an airtight container in the refrigerator for up to three days. Reheat in the oven for best results to keep the crust crispy, or microwave until warm for a quicker option.
How to Serve
Serve this delicious recipe with your favorite sides.
FAQs
How long does it take to prepare Homemade Easy Cheesy Pizza Pockets?
Preparation takes about 10 minutes, with an additional 15 to 20 minutes for baking, making the total time around 30 minutes.
Can I freeze Homemade Easy Cheesy Pizza Pockets?
Yes, you can freeze them before baking. Arrange pockets on a baking sheet to freeze individually, then transfer to a freezer-safe bag. Bake from frozen, adding a few extra minutes to the cooking time.
PrintHomemade Easy Cheesy Pizza Pockets Recipe

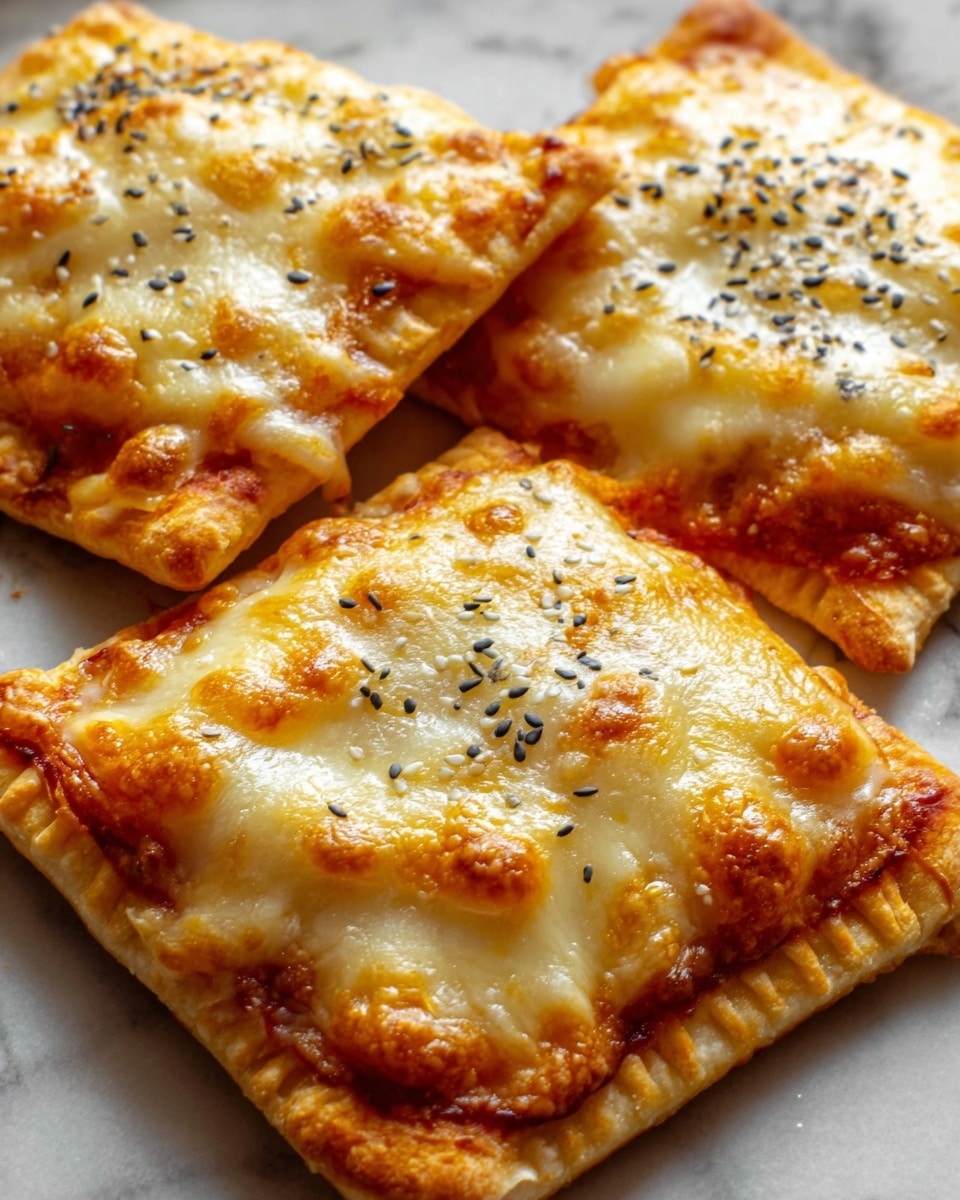
Homemade Easy Cheesy Pizza Pockets are a delightful and convenient snack that features a flaky golden crust filled with melted mozzarella cheese and your favorite toppings. Perfect for game nights, family dinners, or a quick snack, these pizza pockets are customizable, quick to prepare, and baked to perfection for a deliciously satisfying treat.
- Prep Time: 10 minutes
- Cook Time: 20 minutes
- Total Time: 30 minutes
- Yield: Serves 6 (makes approximately 6 pizza pockets) 1x
- Category: Snack
- Method: Baking
- Cuisine: Italian
Ingredients
Pizza Dough
- 1 lb pizza dough (store-bought or homemade)
Cheese
- 2 cups shredded mozzarella cheese
Toppings
- 1 cup assorted toppings (e.g., pepperoni, bell peppers, mushrooms)
Seasoning & Oil
- 2 tbsp olive oil
- 1 tsp Italian seasoning
Instructions
- Preheat Your Oven: Preheat your oven to 400°F (200°C) and line a baking sheet with parchment paper to ensure easy cleanup and prevent sticking.
- Prepare the Dough: Roll out the pizza dough on a floured surface until it is approximately 1/8 inch thick. Cut the dough into 4×4 inch squares to form the base for the pockets.
- Add Fillings: On one half of each dough square, place a generous portion of shredded mozzarella cheese and your chosen toppings, like pepperoni or vegetables, for full flavor.
- Seal the Pockets: Fold the other half of each square over the filling. Press the edges firmly with a fork to tightly seal the pockets and prevent any cheese from leaking during baking.
- Brush with Olive Oil and Season: Lightly brush each pizza pocket with olive oil to promote browning and sprinkle Italian seasoning on top to enhance the flavor.
- Bake: Place the pockets on the prepared baking sheet and bake in the preheated oven for 15-20 minutes, or until the pockets are golden brown and the cheese inside has melted beautifully.
Notes
- Always roll the dough thin to ensure even baking and a crispy crust.
- Seal the edges tightly to prevent filling leakage during baking.
- Do not overfill the pockets; moderate filling allows the pockets to cook evenly.
- Store leftover pizza pockets in an airtight container in the refrigerator for up to 3 days.
- Reheat leftovers in the oven or microwave until warmed through and gooey again.
- Customize fillings by swapping mozzarella for cheddar or by adding different spices like oregano or garlic powder.
Keywords: pizza pockets, cheesy pizza pockets, homemade pizza pockets, easy snack, mozzarella, pizza dough, customizable pizza, baked snack