Frozen Greek Yogurt Peanut Butter Bites That Feel Like a Treat Recipe
Introduction
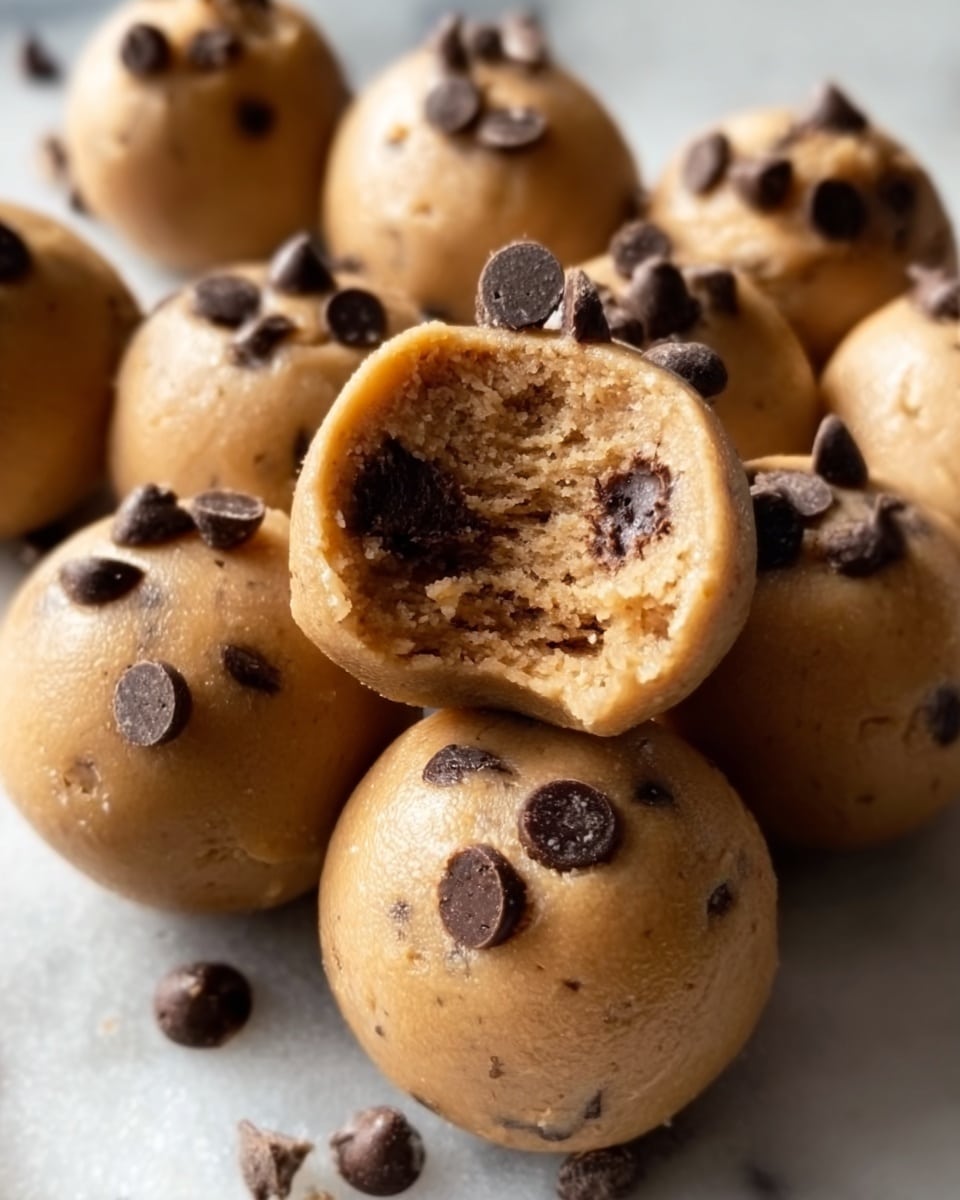
Frozen Greek Yogurt Peanut Butter Bites offer a deliciously creamy and protein-packed snack that feels like a treat. These easy-to-make bites combine the rich flavor of peanut butter with smooth Greek yogurt and a touch of natural sweetness. Perfect for a quick snack or a light dessert, they freeze solid but soften delightfully when eaten.
Ingredients
- 1 cup Greek yogurt
- 1/2 cup creamy peanut butter
- 2 tablespoons honey or maple syrup
- 1 teaspoon vanilla extract
- Optional: mini chocolate chips, crushed nuts, or fresh berries
Instructions
- Step 1: In a bowl, mix Greek yogurt, peanut butter, honey or maple syrup, and vanilla extract until smooth and creamy.
- Step 2: Spoon the mixture into silicone molds or mini muffin cups. Add optional toppings like mini chocolate chips, crushed nuts, or fresh berries if desired.
- Step 3: Freeze for 3–4 hours or until firm. Once frozen, pop out the bites and enjoy straight from the freezer.
Tips & Variations
- Use full-fat Greek yogurt for creamier bites that freeze well without becoming icy.
- Stir peanut butter thoroughly before measuring to avoid lumps and ensure even texture.
- Try swirling in a little extra honey or maple syrup for added sweetness or folding in fresh berries for a fruity twist.
- Use a silicone mold or mini muffin tin lined with paper cups for easy removal and uniform bite size.
Storage
Store the frozen bites in an airtight container or freezer-safe bag for up to 2 weeks to maintain freshness. If the bites become too firm, let them sit at room temperature for a minute or two before eating. To refresh, you can also return them to the freezer for a few minutes.
How to Serve
Serve this delicious recipe with your favorite sides.
FAQs
Can I use regular yogurt instead of Greek yogurt?
Yes, but Greek yogurt is preferred because it’s thicker and higher in protein. If using regular yogurt, strain it through a fine mesh or cheesecloth for 1–2 hours to remove excess liquid, helping the bites stay firm after freezing.
Can I substitute peanut butter with another nut butter?
Absolutely. Almond butter, cashew butter, or sunflower seed butter are good options. Just note that thinner nut butters may require adjusting the yogurt ratio to maintain a firm texture.
PrintFrozen Greek Yogurt Peanut Butter Bites That Feel Like a Treat Recipe

Frozen Greek Yogurt Peanut Butter Bites are a simple, protein-packed, and creamy frozen snack that combines thick Greek yogurt, creamy peanut butter, a touch of honey or maple syrup, and vanilla. These no-bake treats freeze solid for a refreshing texture and soften quickly when eaten, making them perfect for quick, healthy snacking, dessert, or party bites. With optional add-ins like mini chocolate chips, nuts, or fresh berries, they offer versatility and kid-friendly appeal.
- Prep Time: 10 minutes
- Cook Time: 3-4 hours freezing time
- Total Time: 3 hours 10 minutes
- Yield: Approximately 24 bite-sized pieces 1x
- Category: Snack
- Method: Freezing
- Cuisine: American
- Diet: Low Fat
Ingredients
Main Ingredients
- 1 1/2 cups plain full-fat Greek yogurt
- 1/2 cup creamy peanut butter
- 3 tablespoons honey or maple syrup
- 1 teaspoon vanilla extract
Optional Add-ins
- 1/4 cup mini chocolate chips
- Crushed nuts (quantity as desired)
- Fresh berries (such as blueberries or raspberries, small pieces as desired)
Instructions
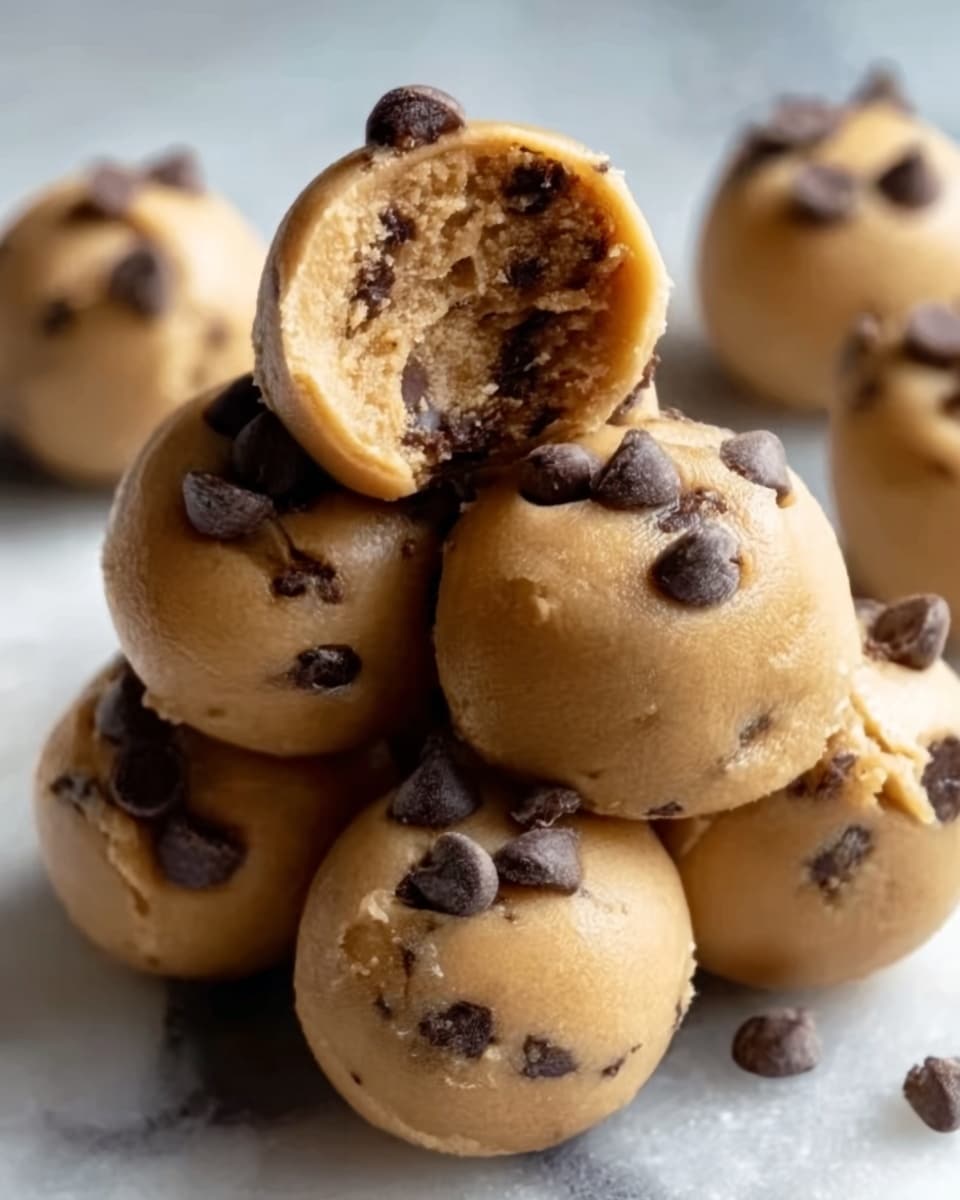
- Mix the Creamy Base: In a medium mixing bowl, combine the Greek yogurt, creamy peanut butter, honey or maple syrup, and vanilla extract. Whisk or fold gently until the mixture is smooth and creamy, ensuring the peanut butter is fully incorporated. Taste and adjust sweetness if needed. If using mini chocolate chips, fold them in gently at this stage.
- Shape the Bites: Line a baking sheet with parchment paper. Using a tablespoon or a small cookie scoop, drop even portions of the mixture onto the sheet, spacing each a little apart as they will not spread. Smooth the tops gently with the back of a spoon for a neat look.
- Freeze Until Firm: Place the baking sheet in the freezer and freeze the bites for at least 3 to 4 hours or until completely firm. Once frozen, transfer the bites into an airtight container for storage. Enjoy them straight from the freezer for a cool, creamy snack.
Notes
- Store bites in an airtight container or freezer-safe bag in the freezer for up to 2 weeks.
- Let bites sit at room temperature for a minute or two before eating if they feel too firm.
- Use full-fat Greek yogurt for a creamier texture and to avoid ice crystals.
- Stir peanut butter well before measuring to ensure even consistency.
- For easy removal and uniform size, use silicone molds or mini muffin cups lined with paper liners.
Keywords: frozen yogurt bites, peanut butter frozen snacks, healthy frozen treats, no bake snacks, protein snack, easy frozen desserts, kid-friendly snacks