Caramel Crispix Recipe
Introduction
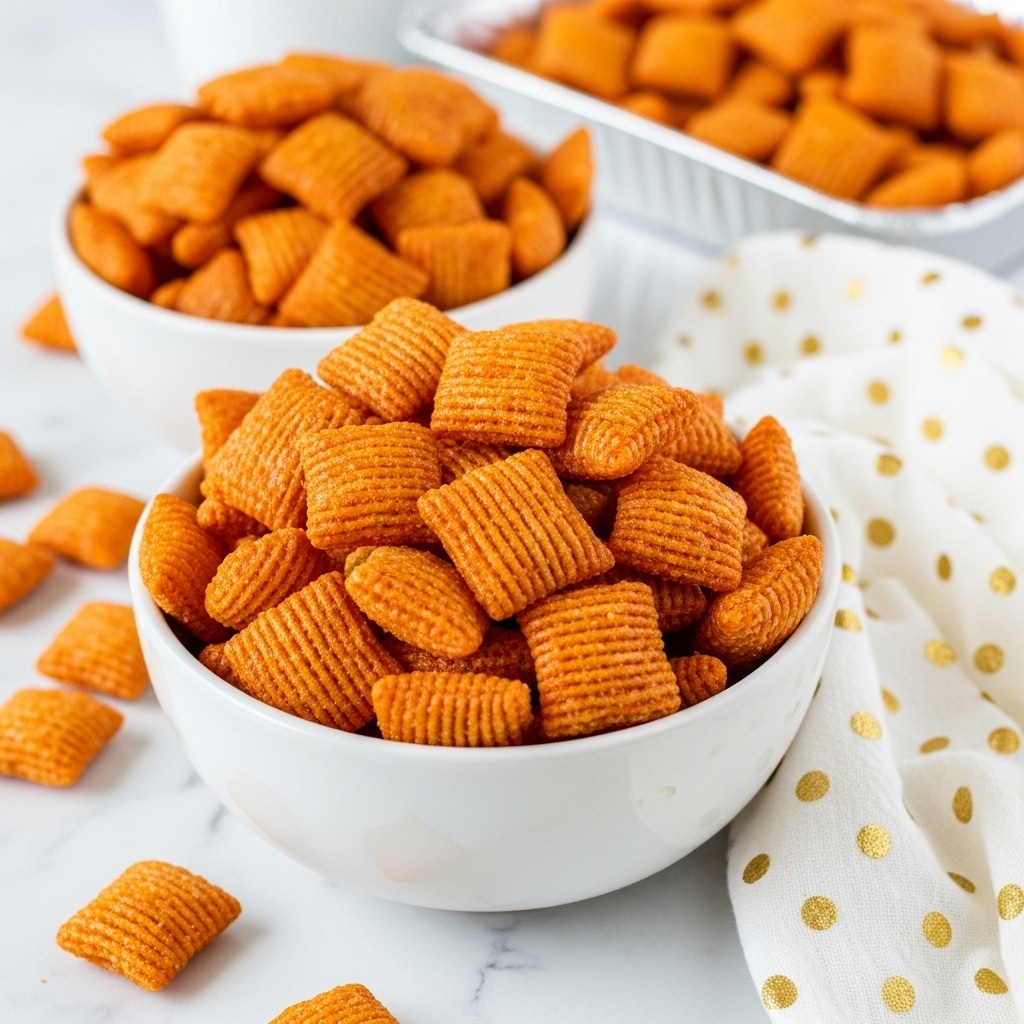
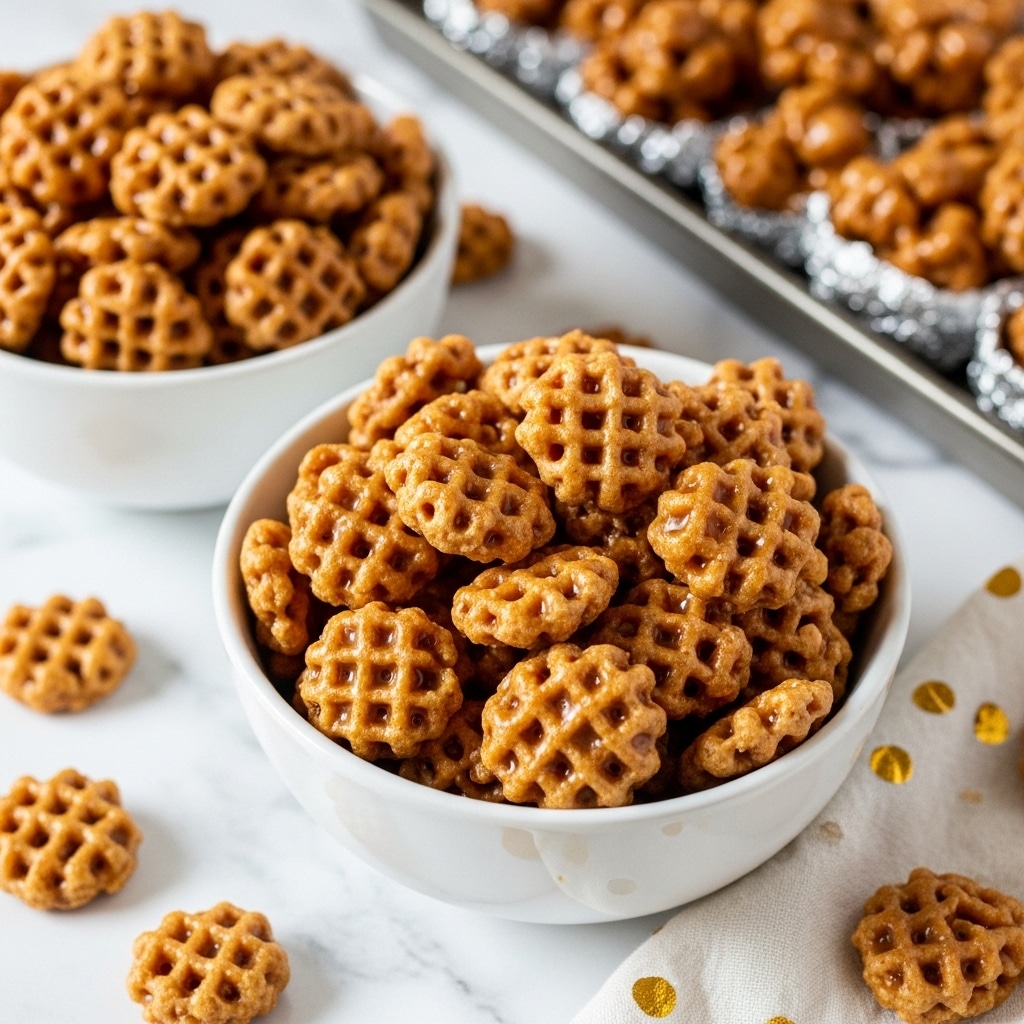
Caramel Crispix is a delightful snack combining crispy cereal with rich, buttery caramel coating. This easy-to-make treat is perfect for satisfying sweet cravings or sharing at gatherings.
Ingredients
- 1 (18 oz) box Crispix Cereal
- 1 cup Butter
- 2 cups Brown Sugar
- 1/2 cup Corn Syrup
- 1/2 tsp Vanilla
- 1/2 tsp Baking Soda
Instructions
- Step 1: Line a baking sheet with parchment paper and set aside.
- Step 2: Pour the Crispix cereal into a large bowl.
- Step 3: In a large saucepan over medium heat, melt the butter. Add the brown sugar and stir constantly until the mixture begins to boil.
- Step 4: Once boiling, stir in the corn syrup and vanilla. Bring the mixture back to a boil while continuing to stir.
- Step 5: Add the baking soda and keep stirring until the mixture becomes foamy, doubles in size, and turns a light tan color.
- Step 6: Pour the caramel mixture over the cereal, stirring gently to coat all the pieces evenly.
- Step 7: Spread the coated cereal onto the prepared parchment-lined baking sheet. Let it cool completely, about an hour, to set and prevent stickiness.
Tips & Variations
- For extra crunch, bake the coated cereal at 250°F (120°C) for 45 minutes, stirring every 15 minutes.
- Substitute half the brown sugar with dark brown sugar for a richer caramel flavor.
- You can add chopped nuts or chocolate chips once the cereal is coated for added texture and taste.
Storage
Store Caramel Crispix in an airtight container at room temperature for up to one week. Keep away from humidity to maintain crispness. If it softens, a short bake at low temperature can help restore crunch.
How to Serve
Serve this delicious recipe with your favorite sides.
FAQs
Can I use a different type of cereal?
Yes, cereals like Rice Chex or Corn Chex work well as alternatives and will give a similar texture.
How do I prevent the caramel from becoming too sticky?
Make sure to spread the coated cereal evenly on the baking sheet and allow it to cool completely before storing. Cooling it for at least an hour helps the caramel set properly.
PrintCaramel Crispix Recipe

Caramel Crispix is a delightful, crunchy snack combining the light, crisp texture of Crispix cereal with a rich, buttery caramel coating. This simple treat is perfect for parties, holiday gatherings, or just a sweet snack to satisfy your caramel cravings. The caramel is made by boiling butter, brown sugar, and corn syrup, then enhanced with vanilla and baking soda to create a foamy, airy coating that binds perfectly to the cereal. Let it cool on parchment paper, and enjoy a deliciously sticky-sweet bite.
- Prep Time: 10 minutes
- Cook Time: 10 minutes
- Total Time: 1 hour 20 minutes
- Yield: About 10 servings 1x
- Category: Snacks
- Method: Stovetop
- Cuisine: American
- Diet: Vegetarian
Ingredients
Snack Base
- 1 (18 oz) box Crispix Cereal
Caramel Coating
- 1 cup Butter
- 2 cups Brown Sugar
- 1/2 cup Corn Syrup
- 1/2 tsp Vanilla Extract
- 1/2 tsp Baking Soda
Instructions
- Prepare baking sheet: Line a baking sheet with parchment paper and set aside to ensure the coated cereal doesn’t stick while cooling.
- Measure cereal: Pour the Crispix cereal into a large mixing bowl, making sure there’s enough room to toss with the caramel.
- Melt butter and mix sugar: In a large saucepan over medium heat, melt 1 cup of butter. Add 2 cups of brown sugar and stir constantly until the mixture reaches a full boil.
- Add corn syrup and vanilla: Stir in 1/2 cup corn syrup and 1/2 teaspoon vanilla extract, then bring the mixture back to a boil while continuing to stir to prevent burning.
- Add baking soda: Remove the pan from heat and stir in 1/2 teaspoon baking soda. The mixture will foam up and turn a light tan color, becoming airy and smooth.
- Coat cereal: Immediately pour the caramel mixture over the Crispix cereal in the bowl. Stir thoroughly to coat every piece evenly with the caramel.
- Spread and cool: Quickly spread the coated cereal mixture evenly across the parchment-lined baking sheet. Allow to cool completely, about 1 hour, so the caramel hardens and the snack becomes crisp without stickiness.
Notes
- Make sure to stir constantly when boiling the sugar mixture to prevent it from burning.
- Adding baking soda creates a lighter texture in the caramel by introducing air bubbles.
- Cool the mixture completely on parchment paper to prevent the snack from sticking.
- Store the cooled Caramel Crispix in an airtight container to maintain its crispiness.
- This recipe is perfect to customize by adding nuts or chocolate chips after coating, if desired.
Keywords: Caramel Crispix, caramel snack, homemade caramel cereal, Crispix recipe, sweet caramel snack, easy caramel treat, holiday snacks, no bake snacks