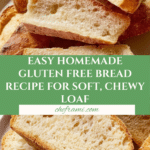
Homemade Gluten-Free Bread Recipe
Introduction
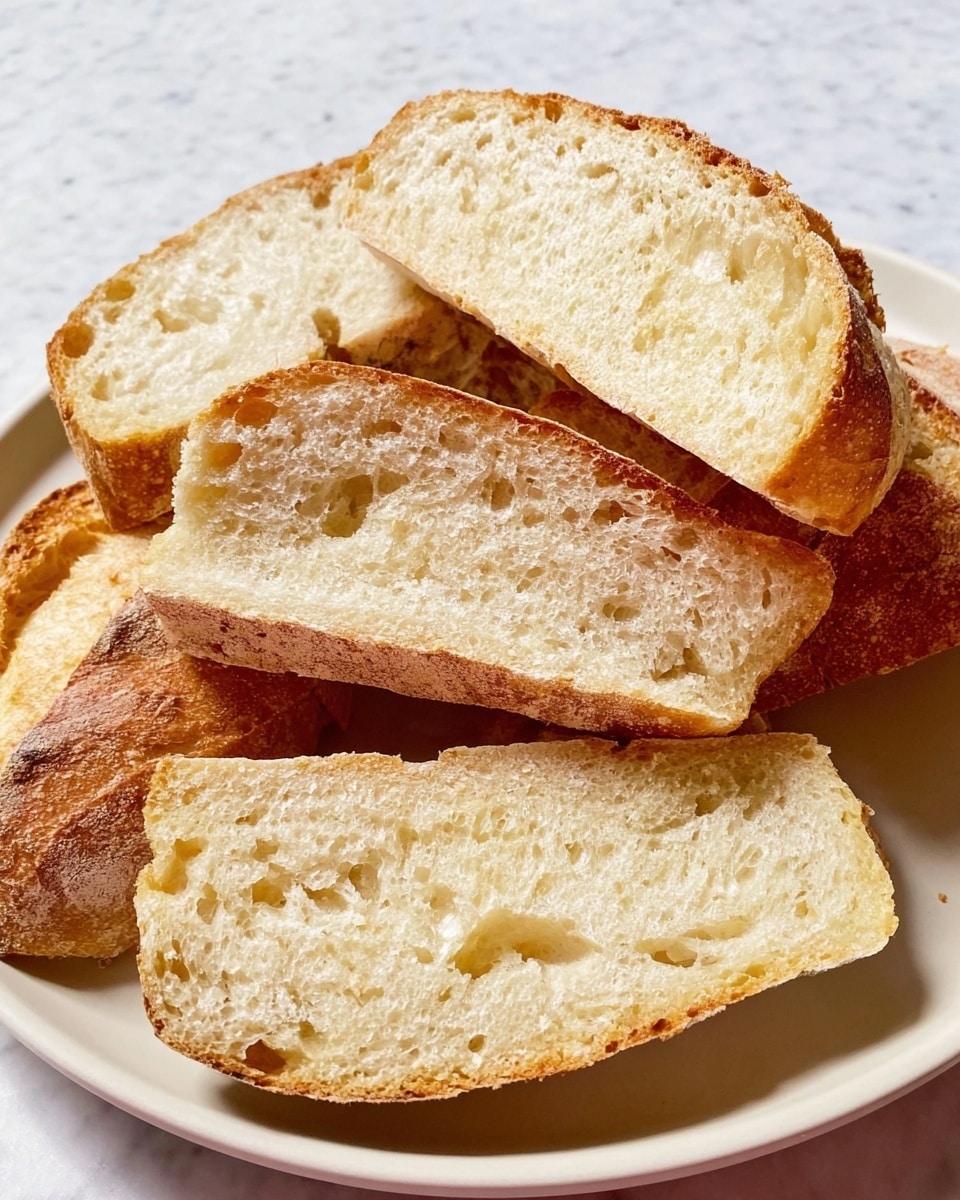
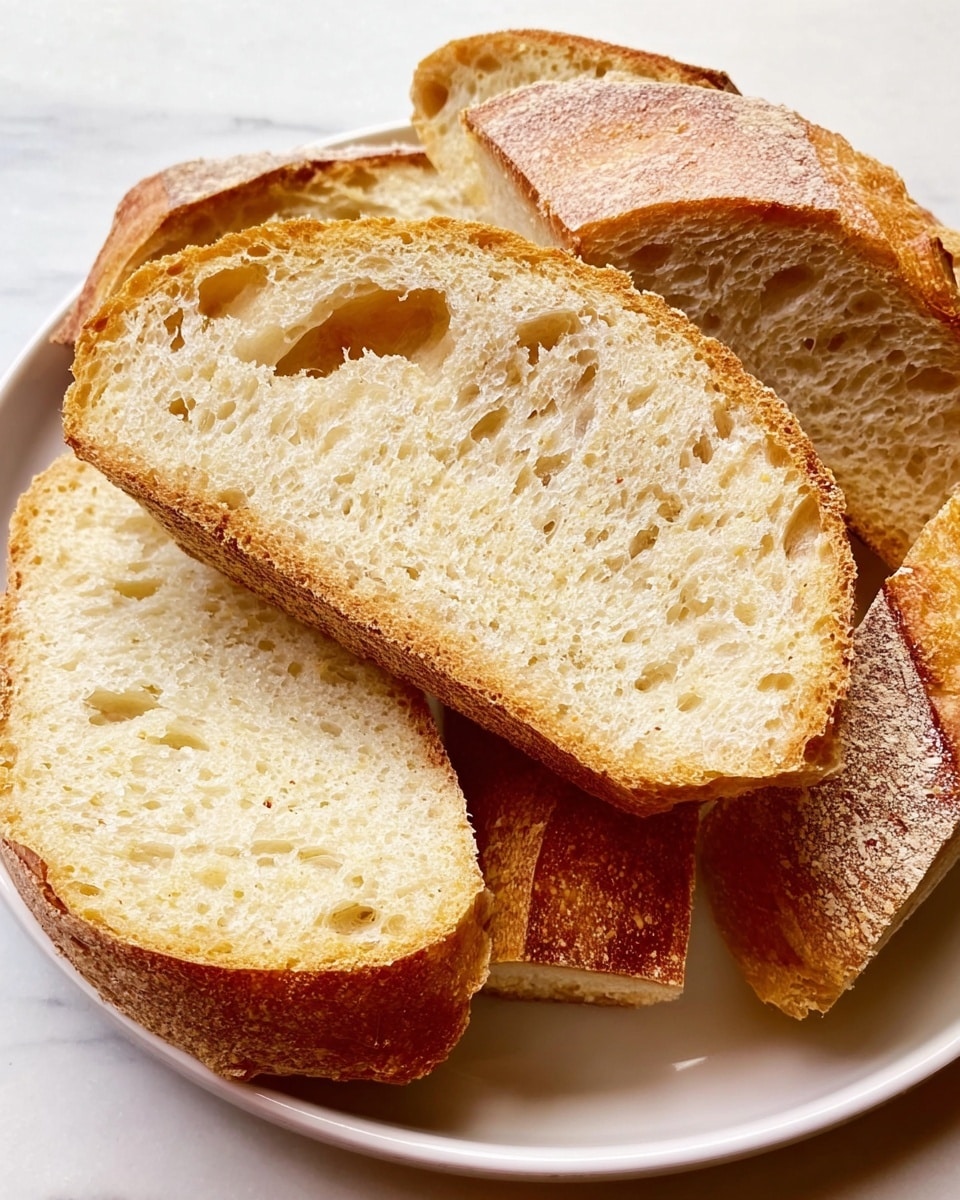
Enjoy the comforting taste of homemade gluten free bread with this simple and reliable recipe. It yields a soft, chewy loaf with a golden crust, perfect for sandwiches or toast. Ideal for those avoiding gluten but craving fresh, homemade bread.
Ingredients
- 2 Cups (284 grams) gluten free bread flour, more as needed
- 2 teaspoons (5 grams) instant yeast
- ½ teaspoon (3 grams) white granulated sugar
- 1 and ¼ cups (220ml) lukewarm water
- ¼ fresh lemon juice or 2 teaspoons white vinegar
- 2 tablespoons (25 grams) olive or vegetable oil
- 1 teaspoon (6 grams) coarse sea salt
Instructions
- Step 1: Grease a large glass or steel mixing bowl with butter or oil. Heat the water until it reaches 98-105 °F (36-40°C), being careful not to overheat as this will kill the yeast.
- Step 2: In the bowl of a stand mixer, combine the gluten-free flour, sugar, and yeast. Attach the dough hook and start mixing on low speed. Gradually add the lukewarm water while mixing, scraping down the sides as needed until combined.
- Step 3: Add lemon juice, then the olive oil, mixing until incorporated. Finally, add the salt and mix for 5-6 minutes until the dough is smooth. The dough will be sticky and batter-like, which is normal.
- Step 4: Transfer the dough to the prepared bowl, cover with a clean towel or plastic wrap, and let it rise for 60-90 minutes or until doubled in size.
- Step 5: Grease or line a baking pan with parchment paper. Flour your hands and work surface with gluten-free flour, then gently turn the dough out. Press to release air and shape into a ball.
- Step 6: Roll the dough ball into an 8×15 inch (25×15 cm) rectangle, then roll it up into a 6-inch log. Place it in the prepared loaf pan and lightly flatten the top. Sprinkle the loaf with a little flour.
- Step 7: Score the top with 6 slashes using a sharp knife or bread knife. Cover and allow to rise for another hour or until doubled in size.
- Step 8: Place a small steel bowl on the bottom rack of your oven and preheat to 445°F (230°C). Spray the loaf lightly with water.
- Step 9: Place the loaf pan on the lower-middle rack. Pour 1 cup of water into the steel bowl to create steam. Bake for 25-30 minutes until the bread is golden brown and sounds hollow when tapped on the bottom.
- Step 10: Let the bread cool in the pan for 10 minutes before removing and slicing.
Tips & Variations
- Use gluten-free flour blends that contain psyllium or xanthan gum to improve dough texture and structure.
- If using active dry yeast, activate it 10 minutes before mixing by dissolving in lukewarm water with sugar.
- Don’t worry if the dough is sticky and hard to shape—sprinkle more flour as needed and handle gently to avoid deflating.
- For a softer crust, brush the loaf with olive oil immediately after baking.
Storage
Store leftover gluten free bread in an airtight container or bread box at room temperature for up to 2 days. For longer storage, wrap tightly and freeze for up to 3 months. Reheat slices in a toaster or oven for best texture.
How to Serve
Serve this delicious recipe with your favorite sides.
FAQs
Can I use regular wheat flour instead of gluten free flour?
This recipe is formulated specifically for gluten free bread flour blends. Using regular wheat flour will change the texture and rise of the bread.
Why is my gluten free bread dough so sticky?
Gluten free dough lacks the elasticity of gluten and tends to be more batter-like and sticky. This is normal. Use flour to help shape it gently without overworking the dough.
PrintHomemade Gluten-Free Bread Recipe

This homemade gluten free bread recipe delivers a soft, chewy loaf with a golden crust using a blend of specialized gluten free flours and psyllium for structure. Perfect for those avoiding gluten, it requires simple ingredients, a stand mixer or manual mixing, and baking in the oven to create a fresh, delicious loaf ideal for sandwiches or toast.
- Prep Time: 15 minutes
- Cook Time: 30 minutes
- Total Time: 2 hours 15 minutes
- Yield: 1 loaf (about 12 slices) 1x
- Category: Bread
- Method: Baking
- Cuisine: Gluten Free
- Diet: Gluten Free
Ingredients
Dry Ingredients
- 2 Cups (284 grams) gluten free bread flour, more as needed
- 2 teaspoons (5 grams) instant yeast
- ½ teaspoon (3 grams) white granulated sugar
- 1 teaspoon (6 grams) coarse sea salt
Wet Ingredients
- 1 and ¼ cups (220 ml) lukewarm water
- ¼ fresh lemon juice or 2 teaspoons white vinegar
- 2 tablespoons (25 grams) olive or vegetable oil
Instructions
- Prepare the bowl and water: Grease a large glass or steel mixing bowl with butter or oil. Heat the water to between 98-105 °F (36-40°C), ensuring it is warm but not hot to avoid killing the yeast.
- Make the dough: In the bowl of a stand mixer fitted with a dough hook, add the gluten-free flour, sugar, and yeast. Start mixing on low speed, gradually pouring in the lukewarm water. Mix until combined, scraping the bowl sides as needed. Add lemon juice, then olive oil, mixing until incorporated, then add salt and mix. Continue kneading for 5-6 minutes until the dough becomes smooth but sticky, resembling a batter.
- First rise: Transfer the dough to the greased bowl, cover with a clean towel or plastic wrap, and let it rise for 60-90 minutes or until doubled in size.
- Prepare baking pan: Grease or line a loaf pan with parchment paper.
- Shape the dough: Flour your hands and work surface with gluten-free flour. Turn out the dough and gently press to release air. Shape into a ball, then roll the dough into a rectangle approximately 8×15 inches (20×38 cm). Roll it into a 6-inch log and place into the prepared loaf pan. Lightly flatten the top and dust the surface with gluten-free flour using a sieve.
- Score the loaf: Using a sharp knife or bread lame, make 6 slashes on the top surface of the dough.
- Second rise: Cover the shaped loaf and let it rise for another hour or until doubled in size.
- Preheat oven: Place a small steel bowl at the bottom rack of the oven and preheat to 445°F (230°C).
- Bake the bread: Lightly spray the loaf with water. Place the loaf pan on the lower-middle rack. Fill the steel bowl with 1 cup of water to create steam and bake for 25-30 minutes until the crust is golden and the bottom sounds hollow when tapped.
- Cool: Remove the bread from the oven and let it cool in the pan for 10 minutes before slicing and serving.
Notes
- Flour: Use gluten-free bread flour blends containing psyllium and xanthan gum or hydroxypropyl methylcellulose for best structure and texture. Recommended brands include King Arthur Gluten Free Bread Flour, Bob’s Red Mill 1-for-1, Grandpa’s Kitchen, or Polselli Gluten Free Flour.
- Yeast: Instant dry yeast is preferred; if using active dry yeast, activate by dissolving in water 10 minutes before mixing, adjusting rise times accordingly.
- Temperature: Dough rises best around 68°F (20°C).
- Shaping Tips: Gluten-free dough is sticky and tricky to shape; flour hands and surfaces generously and use a bowl scraper if needed.
- Steam in Oven: Adding water to a bowl in the oven creates steam that improves crust quality.
- Alternative Mixing: If no stand mixer is available, mix by hand with a spatula or wooden spoon.
Keywords: gluten free bread, homemade gluten free bread, gluten free baking, easy gluten free loaf, psyllium bread, gluten free sandwich bread, gluten free yeast bread