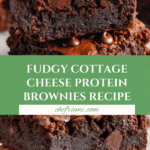
Cottage Cheese Protein Brownies Recipe
Introduction
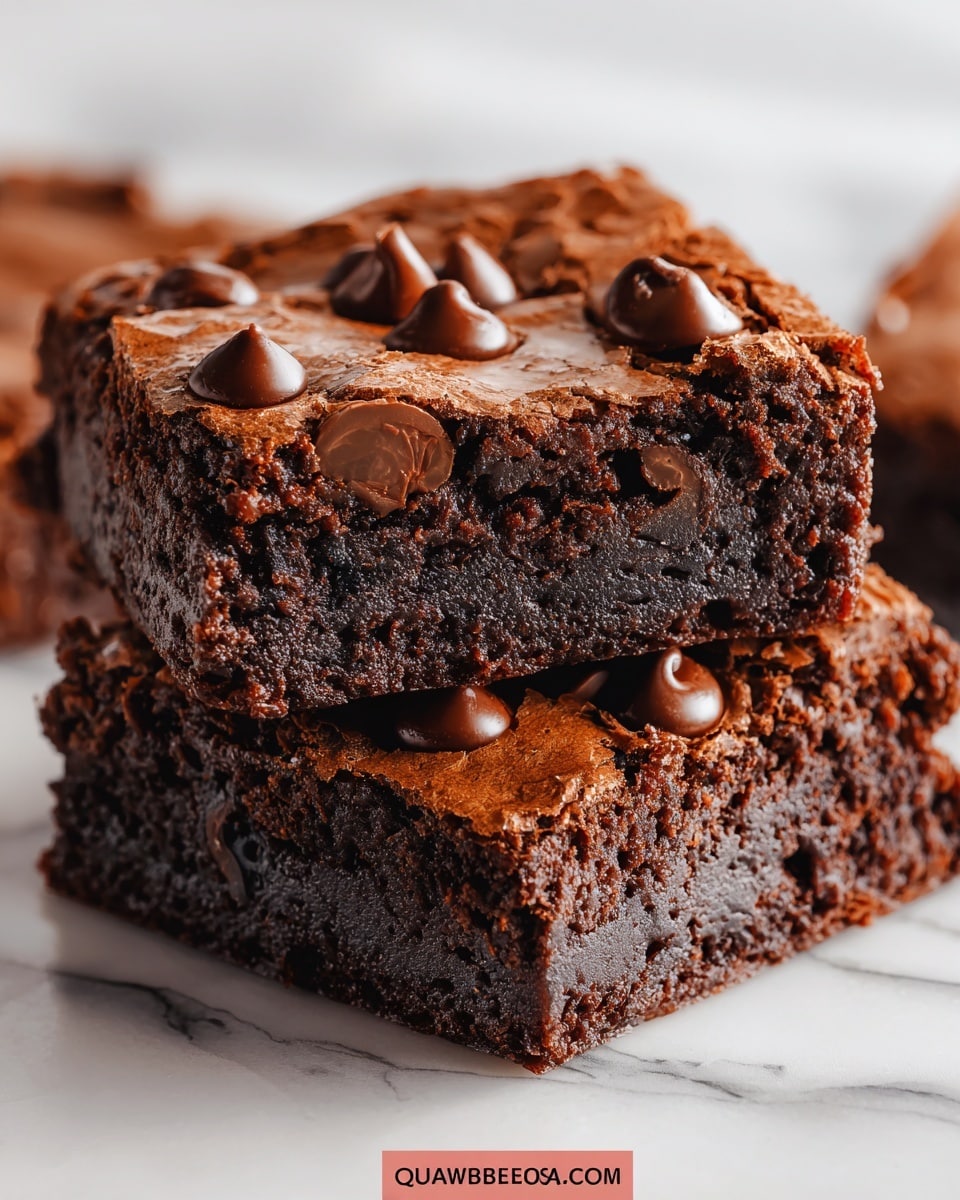
Cottage Cheese Protein Brownies offer a delicious way to satisfy your chocolate cravings while boosting your protein intake. These brownies are fudgy, slightly tangy, and come together with simple ingredients you likely have on hand. Perfect for a healthier treat that doesn’t sacrifice flavor.
Ingredients
- 1 cup cottage cheese (low-fat or full-fat, based on preference)
- 3/4 cup unsweetened cocoa powder (natural or Dutch-processed)
- 3/4 cup flour (whole wheat pastry, all-purpose, or gluten-free blend)
- 3/4 cup brown sugar (or coconut sugar)
- 2 large eggs
- 1/2 cup melted butter or coconut oil
- 1 teaspoon vanilla extract
- 1/2 teaspoon baking powder
- 1/4 teaspoon salt
- Optional add-ins: chocolate chips, nuts, espresso powder, or protein powder
Instructions
- Step 1: Preheat your oven to 350°F (175°C). Line an 8×8-inch baking pan with parchment paper or grease it lightly to prevent sticking.
- Step 2: Place the cottage cheese in a blender or food processor and blend until smooth, eliminating lumps for a better texture.
- Step 3: In a mixing bowl, whisk the eggs until frothy. Add the blended cottage cheese, melted butter (or coconut oil), and vanilla extract. Mix until uniform.
- Step 4: In another bowl, sift together cocoa powder, flour, baking powder, and salt. Whisk to combine evenly.
- Step 5: Add the brown sugar to the dry mixture and mix well to coat the flour and cocoa evenly.
- Step 6: Pour the wet ingredients into the dry ingredients and gently stir until just combined, avoiding overmixing to keep the brownies fudgy.
- Step 7: If desired, fold in optional add-ins like chocolate chips or nuts for extra flavor and texture.
- Step 8: Transfer the batter to the prepared pan and smooth the top with a spatula.
- Step 9: Bake for 20 to 25 minutes. Check at 20 minutes with a toothpick; it should come out with a few moist crumbs, not completely clean.
- Step 10: Let the brownies cool in the pan for 15 minutes, then lift them out using the parchment paper and place on a wire rack. Slice when slightly warm or at room temperature for clean cuts.
Tips & Variations
- Blend cottage cheese thoroughly to avoid lumps and curds in the brownies.
- Try a peanut butter swirl by dropping dollops on top of the batter before baking.
- Use a gluten-free flour blend to make this recipe gluten-free.
- For a vegan-ish version, swap eggs with flax eggs, but expect a denser texture.
- Add a pinch of espresso powder to intensify the chocolate flavor without adding coffee taste.
Storage
Store the brownies in an airtight container at room temperature for up to 3 days. For longer storage, refrigerate them for up to a week or freeze for up to 3 months. Reheat gently in the microwave or let come to room temperature before serving to preserve the fudgy texture.
How to Serve

Serve this delicious recipe with your favorite sides.
FAQs
Can I use low-fat cottage cheese instead of full-fat?
Yes, both low-fat and full-fat cottage cheese work well. Full-fat will give richer flavor, while low-fat reduces calories.
Do I have to blend the cottage cheese?
Blending the cottage cheese until smooth is important to avoid lumps and ensure a uniform brownie texture, but if you like a few curds, you can skip this step.
PrintCottage Cheese Protein Brownies Recipe

Discover how to make fudgy Cottage Cheese Protein Brownies that pack extra protein without sacrificing taste. This easy recipe combines blended cottage cheese with cocoa, flour, and natural sweeteners for a healthier sweet treat that satisfies chocolate cravings while boosting protein intake. Perfect for those seeking a balanced indulgence and adaptable for gluten-free or vegan-ish variations.
- Prep Time: 10 minutes
- Cook Time: 20-25 minutes
- Total Time: 35 minutes
- Yield: 12 brownies 1x
- Category: Dessert
- Method: Baking
- Cuisine: American
- Diet: Low Fat
Ingredients
Wet Ingredients
- 1 cup cottage cheese (low-fat or full-fat)
- 2 large eggs
- 1/2 cup melted butter or coconut oil
- 1 tsp vanilla extract
Dry Ingredients
- 3/4 cup unsweetened cocoa powder (natural or Dutch-processed)
- 3/4 cup whole wheat pastry flour or all-purpose flour (or 1:1 gluten-free flour blend)
- 1/2 tsp baking powder
- 1/4 tsp salt
- 3/4 cup brown sugar or coconut sugar
Optional Add-Ins
- Chocolate chips (a handful)
- Chopped nuts (walnuts or pecans)
- A pinch of espresso powder
- Protein powder (reduce flour accordingly if added)
Instructions
- Preheat and Prep: Preheat your oven to 350°F (175°C). Line an 8×8-inch baking pan with parchment paper or grease it lightly to prevent sticking.
- Blend the Cottage Cheese Base: Place 1 cup of cottage cheese into a blender or food processor and blend until completely smooth to avoid lumps in your brownies.
- Combine Wet Ingredients: In a mixing bowl, whisk 2 large eggs until slightly frothy. Stir in the blended cottage cheese, melted butter or coconut oil, and 1 teaspoon of vanilla extract until uniformly combined.
- Mix Dry Ingredients: In a separate bowl, sift together the cocoa powder, flour, baking powder, and salt. Whisk to ensure an even distribution and no lumps.
- Sweeten the Batter: Add the brown sugar to the dry ingredients and mix well so it coats the flour and cocoa evenly.
- Combine Wet and Dry: Pour the wet ingredient mixture into the dry ingredients bowl. Stir gently and just until combined, avoiding overmixing to keep the brownies fudgy.
- Add Optional Ingredients: Fold in chocolate chips, nuts, espresso powder, or protein powder if desired, adjusting flour quantity if adding protein powder.
- Bake: Transfer the batter to the prepared pan and smooth the top with a spatula. Bake for 20–25 minutes. Check at 20 minutes by inserting a toothpick – it should come out with a few moist crumbs to ensure fudginess.
- Cool and Slice: Allow the brownies to cool in the pan for 15 minutes, then lift out using the parchment paper and place on a wire rack. Slice when slightly warm or at room temperature for cleaner cuts.
Notes
- Blend cottage cheese thoroughly to avoid curds for a smooth brownie texture.
- Do not overbake; a toothpick test with moist crumbs ensures fudgy brownies.
- Use fresh cocoa powder and baking powder for the best rise and flavor.
- Cool brownies before slicing to prevent falling apart.
- Adjust sugar levels to taste, or sprinkle chocolate chips on top before baking.
- For gluten-free, substitute with a 1:1 gluten-free flour blend.
- To make vegan-ish, replace eggs with flax eggs but expect a denser texture.
Keywords: cottage cheese brownies, protein brownies, healthy brownies, fudgy brownies, baking dessert, high protein dessert, low fat dessert, gluten-free option