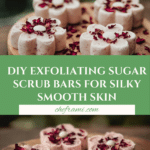
DIY Exfoliating Sugar Scrub Bars Recipe
Introduction
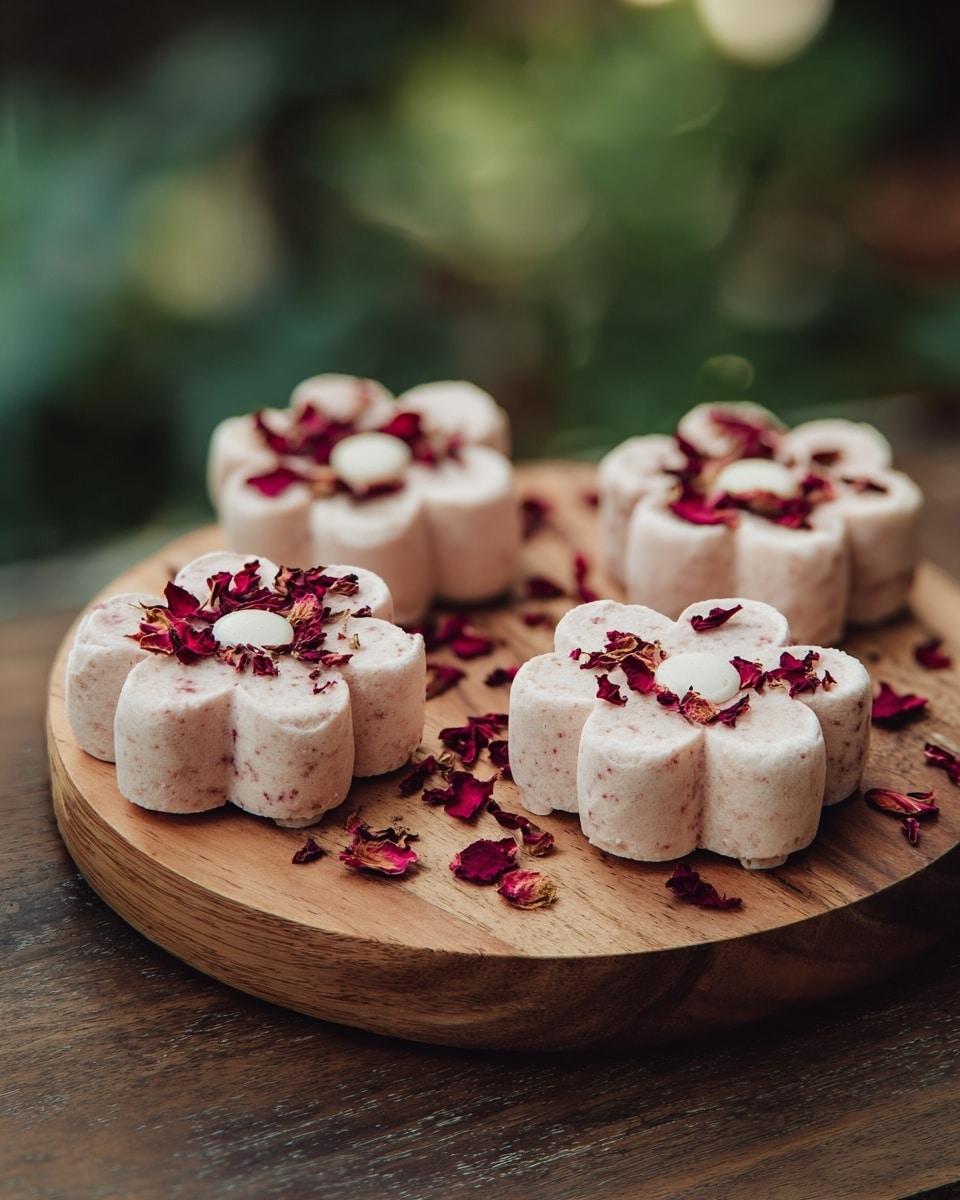
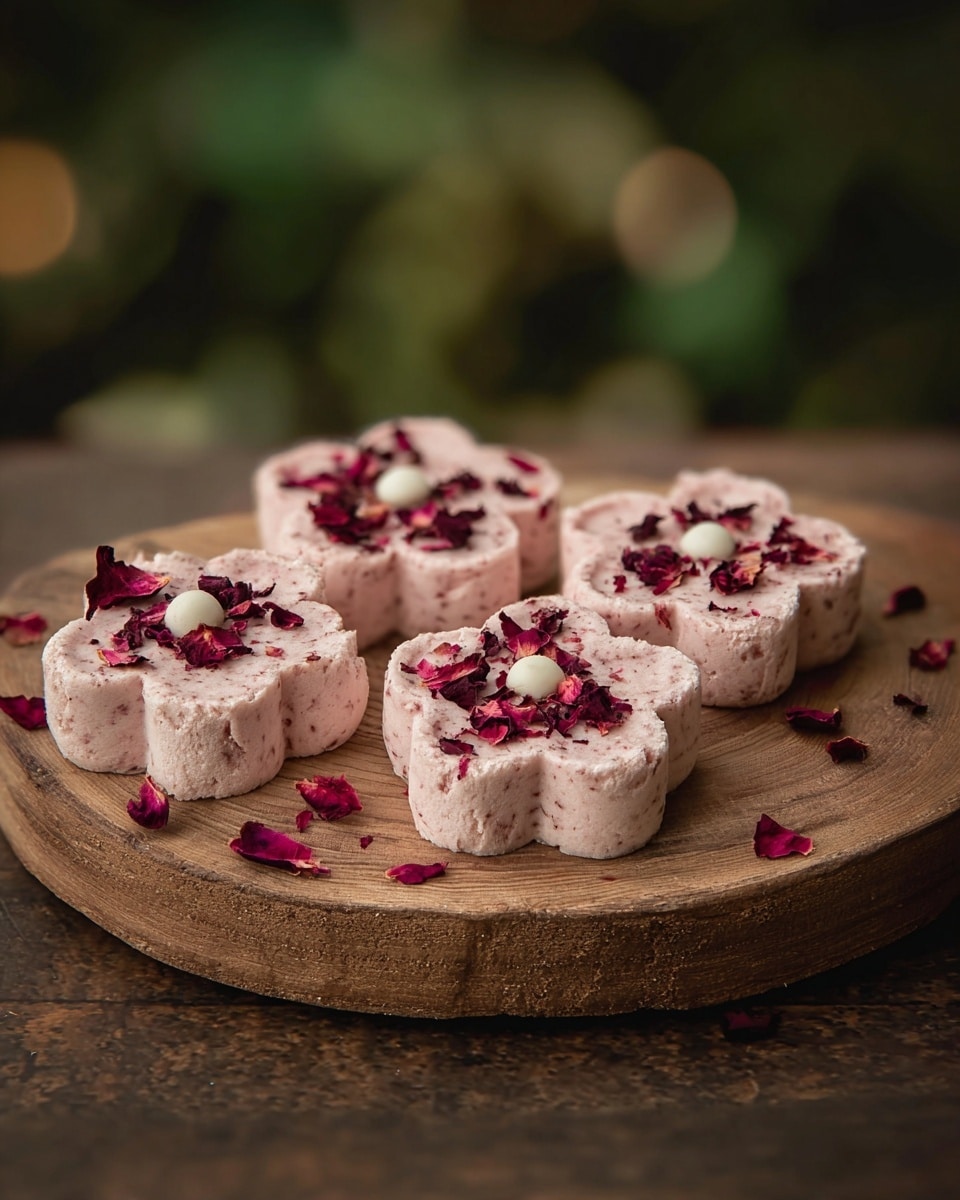
DIY exfoliating sugar scrub bars are a simple and fun way to pamper your skin at home. Combining gentle exfoliation with nourishing oils, these bars leave your skin soft, smooth, and refreshed. Plus, they’re customizable with your favorite scents and additives.
Ingredients
- Granulated Sugar – 1 cup (can substitute with brown sugar for a softer scrub)
- Melt-and-Pour Soap Base – ½ cup (about 120g)
- Coconut Oil or Shea Butter – ¼ cup (about 60g)
- Essential Oils – 10–15 drops
- Optional Add-ins:
- Natural Colorants (mica powder, beetroot powder, or turmeric) – ½ teaspoon
- Dried Flowers (lavender, rose petals, chamomile) – 1–2 tablespoons
- Vitamin E Oil – 5–10 drops
- Ground Oats or Coffee Grounds – 1–2 tablespoons
- Honey – 1 tablespoon
Instructions
- Step 1: Cut the melt-and-pour soap base into small chunks. Melt in a microwave-safe bowl using 20-second intervals, stirring between each, until fully liquefied. Alternatively, melt using a double boiler.
- Step 2: Stir the coconut oil or shea butter into the melted soap base until fully combined.
- Step 3: Add 10–15 drops of your favorite essential oil and stir well to evenly distribute the fragrance.
- Step 4: Gradually stir in 1 cup of sugar. The mixture will thicken to a gritty, sand-like texture. For a firmer scrub, add up to 1½ cups of sugar.
- Step 5: Customize your bars by adding optional ingredients such as natural colorants, dried flowers, vitamin E oil, ground oats or coffee grounds, and honey.
- Step 6: Quickly pour the mixture into silicone molds before it hardens. Use a spoon to press down and smooth the surface.
- Step 7: Let the bars set and harden completely, about 1–2 hours at room temperature or 30 minutes in the fridge.
- Step 8: Carefully unmold the bars and store them in an airtight container to keep fresh.
Tips & Variations
- If the mixture hardens too quickly, gently remelt it in the microwave or over a double boiler.
- Keep bars in a cool, dry place to prevent melting or softening.
- Wrap bars in wax paper or place in decorative jars for gifting.
- For relaxing lavender bars, add ½ teaspoon purple mica powder, 1 tablespoon dried lavender buds, and 10 drops lavender essential oil.
- For invigorating citrus bars, add ½ teaspoon turmeric, 10 drops orange essential oil, and 1 teaspoon grated orange zest.
- For holiday peppermint bars, add ½ teaspoon red mica powder, 10 drops peppermint essential oil, and optional crushed peppermint candy.
Storage
Store sugar scrub bars in an airtight container in a cool, dry place to keep them firm and fresh. They can last up to 6 months if kept away from moisture. To reuse, simply rub the bar on wet skin, then rinse. Avoid leaving bars in direct water or heat to prevent melting.
How to Serve
Serve this delicious recipe with your favorite sides.
FAQs
Can I use a different type of oil or butter?
Yes, you can substitute coconut oil or shea butter with other nourishing oils like cocoa butter, almond oil, or jojoba oil. Just maintain a similar consistency for the best results.
How long do sugar scrub bars last?
When stored properly in a cool, dry place, sugar scrub bars can last up to 6 months. Adding vitamin E oil helps extend their shelf life.
Are sugar scrub bars safe for sensitive skin?
They can be gentle enough for sensitive skin if you use fine sugar and mild essential oils. Soothing additives like oatmeal and chamomile are recommended, and avoid artificial colorants.
Can I make sugar scrub bars without a soap base?
Yes, but the texture will differ. Using oils and beeswax can create a balm-like scrub. The soap base adds cleansing properties and firmness.
Can I use salt instead of sugar?
Salt is more abrasive than sugar and better for tougher skin areas like feet. Use fine sea salt for a gentler scrub, but it may be too harsh for sensitive skin.
What should I do if the bars are too soft or too hard?
If too soft, add more sugar or reduce oil; if too hard, reduce soap base or add a bit more oil.
Are these safe to use on my face?
It’s best to avoid using sugar scrub bars on facial skin, as they can be too abrasive. Opt for scrubs specifically made for the face instead.
Can I make vegan sugar scrub bars?
Yes, most recipes are vegan if plant-based oils and vegan melt-and-pour bases are used. Check labels to confirm the soap base is vegan-friendly.
Can I use food coloring instead of mica powder?
While food coloring can be used, mica powder is better suited for skincare products as it is safe and designed for this purpose.
PrintDIY Exfoliating Sugar Scrub Bars Recipe
Create your own moisturizing and exfoliating sugar scrub bars at home with simple natural ingredients. These DIY scrub bars gently remove dead skin while nourishing and softening your skin with coconut oil or shea butter, enriched with your favorite essential oils. Customizable with colorants, dried flowers, and other skin-loving additives, these bars provide a spa-like skincare experience that’s perfect for personal use or gifting.
- Prep Time: 10 minutes
- Cook Time: 10 minutes
- Total Time: 1 hour 30 minutes
- Yield: 8-10 scrub bars depending on mold size
- Category: Skincare DIY
- Method: Melting
- Cuisine: Homemade Skincare
- Diet: Vegan
Ingredients
Base Ingredients
- Granulated Sugar – 1 cup
- Melt-and-Pour Soap Base – ½ cup (about 120g)
- Coconut Oil or Shea Butter – ¼ cup (about 60g)
- Essential Oils – 10–15 drops
Optional Add-ins
- Natural Colorants (mica powder, beetroot powder, or turmeric) – ½ teaspoon
- Dried Flowers (lavender, rose petals, or chamomile) – 1–2 tablespoons
- Vitamin E Oil – 5–10 drops
- Ground Oats or Coffee Grounds – 1–2 tablespoons
- Honey – 1 tablespoon
Instructions
- Melt the Soap Base: Cut the melt-and-pour soap base into small chunks and melt it in a microwave-safe bowl in 20-second intervals, stirring in between until fully liquefied, or use a double boiler for gentle melting.
- Add Coconut Oil or Shea Butter: Stir the coconut oil or shea butter into the melted soap base until completely blended, ensuring the mix is smooth and uniform.
- Incorporate Essential Oils: Add 10 to 15 drops of your favorite essential oils and stir well to evenly distribute fragrance and therapeutic benefits throughout the mixture.
- Add the Sugar: Slowly stir in the granulated sugar; this will thicken the mixture to a gritty, sand-like texture. For a firmer scrub, you can increase sugar up to 1½ cups.
- Customize with Add-ins: Enhance your scrub bars by stirring in natural colorants, dried flowers, vitamin E oil, ground oats or coffee grounds, and honey, depending on your desired effect and skin benefits.
- Pour into Molds: Quickly transfer the mixture into silicone molds before it begins to harden, pressing down gently with a spoon to smooth the surface.
- Let Them Set: Allow the bars to cool and harden at room temperature for 1–2 hours, or chill in the fridge for about 30 minutes until completely firm.
- Unmold and Store: Carefully pop the scrub bars out of the molds and store them in an airtight container to maintain freshness and prevent softening.
Notes
- If the mixture hardens too quickly during preparation, gently remelt it in the microwave or over a double boiler.
- Store the scrub bars in a cool, dry place away from moisture to avoid melting or softening.
- For gifting, wrap bars in wax paper or place in decorative jars with labels to personalize.
- Adjust sugar quantity to customize scrub firmness and exfoliation level.
- Use fine sugar for sensitive skin and avoid harsh essential oils if needed.
- These scrub bars are not recommended for facial use due to their exfoliation strength.
Keywords: sugar scrub bars, DIY skincare, exfoliating scrub, homemade scrub bars, natural exfoliant, moisturizing scrub, melt and pour soap scrub